
Die Cut Vinyl Graphics
You Dream It Up, We'll Cut It Out
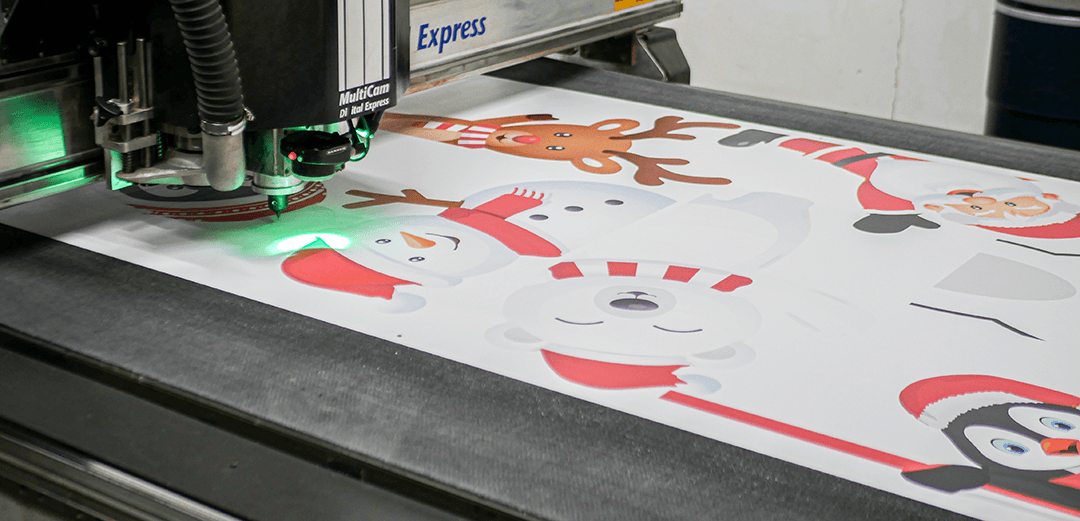
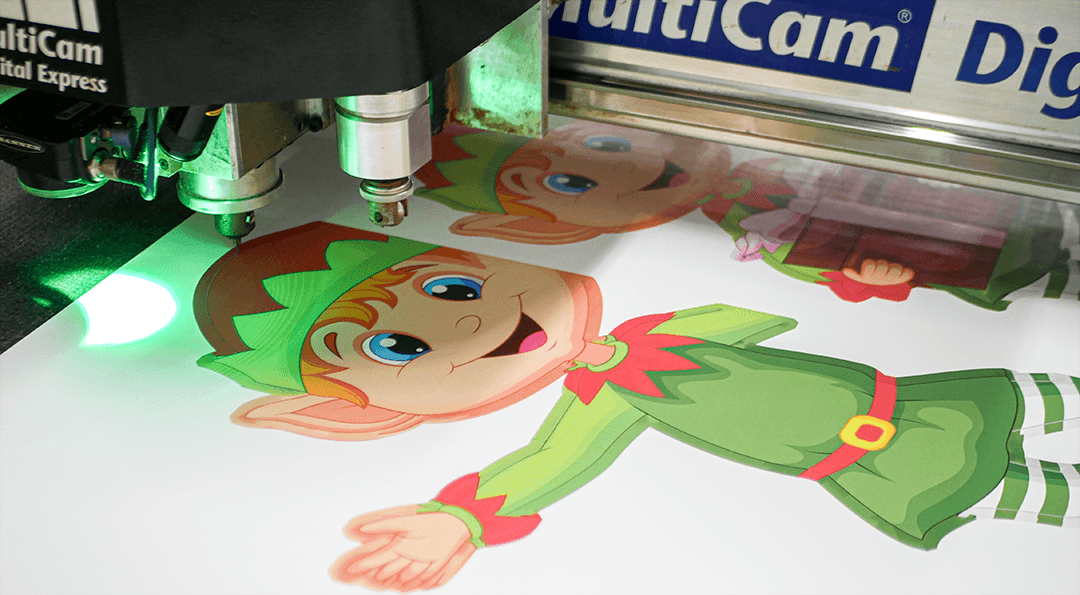
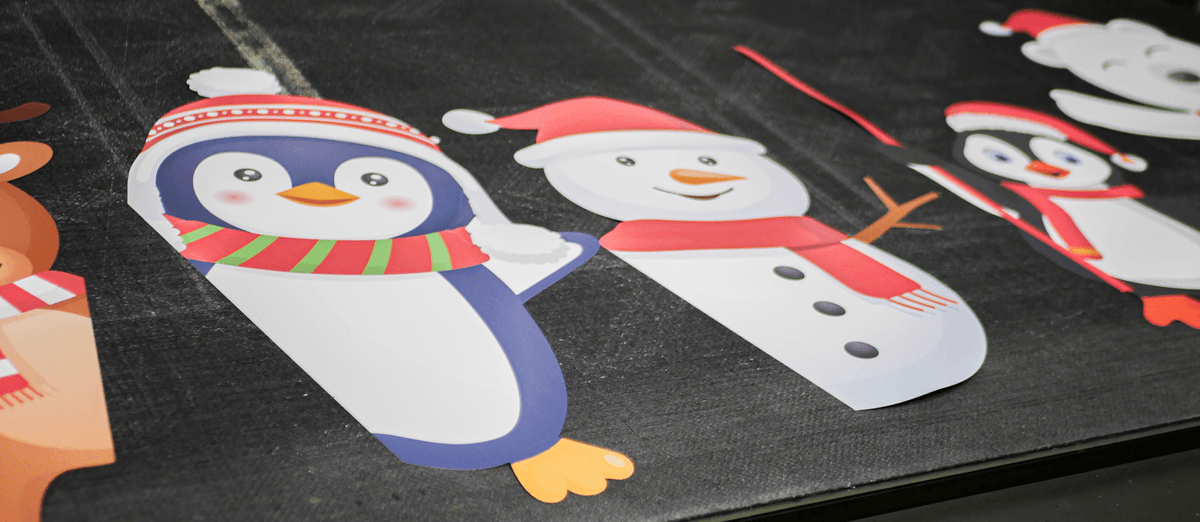
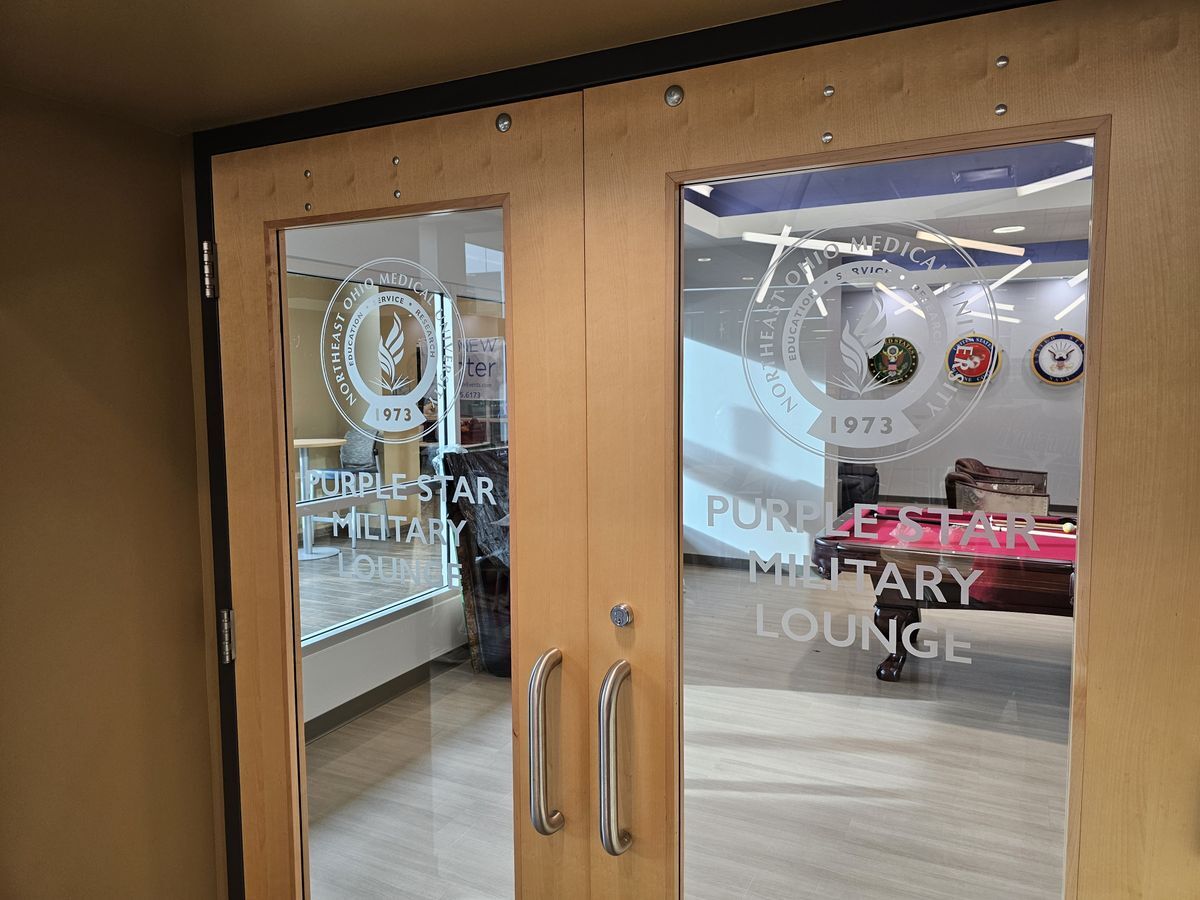
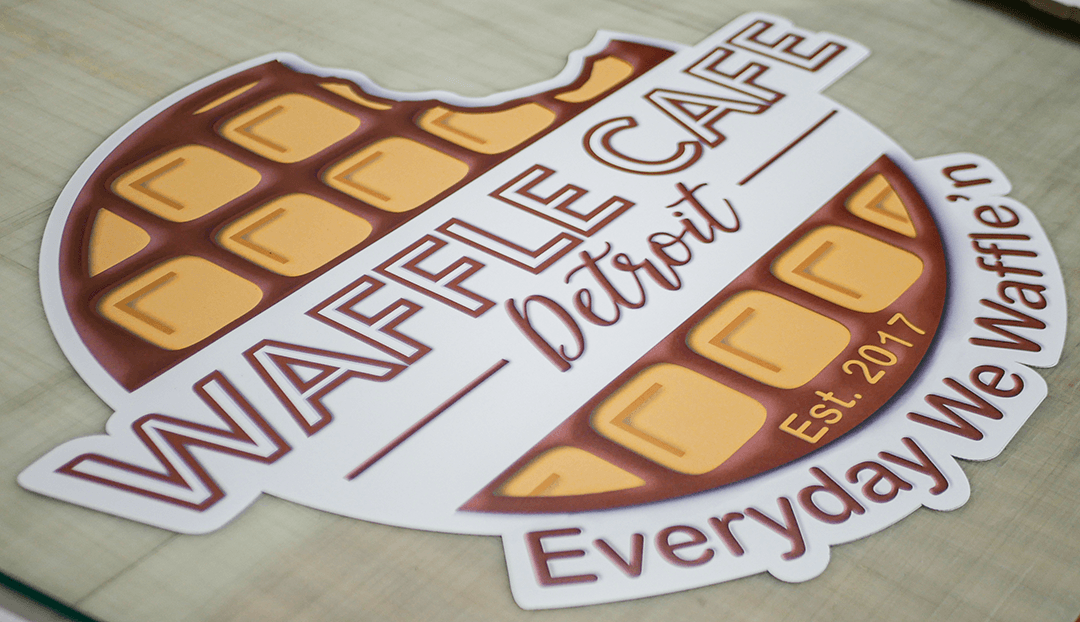
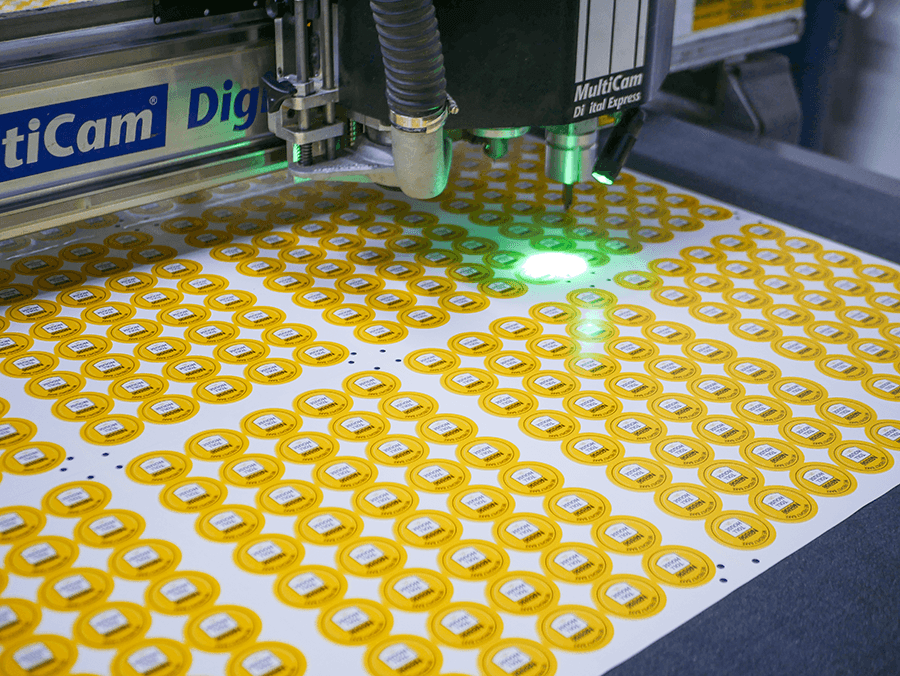
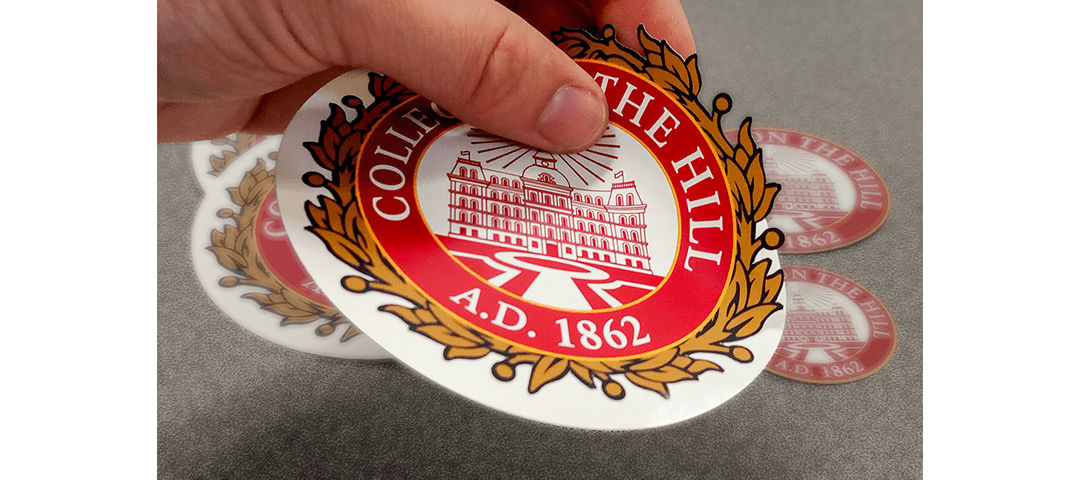
Image Concepts offers customized die cut vinyl graphics and decals on numerous types of easy to install adhesive material.
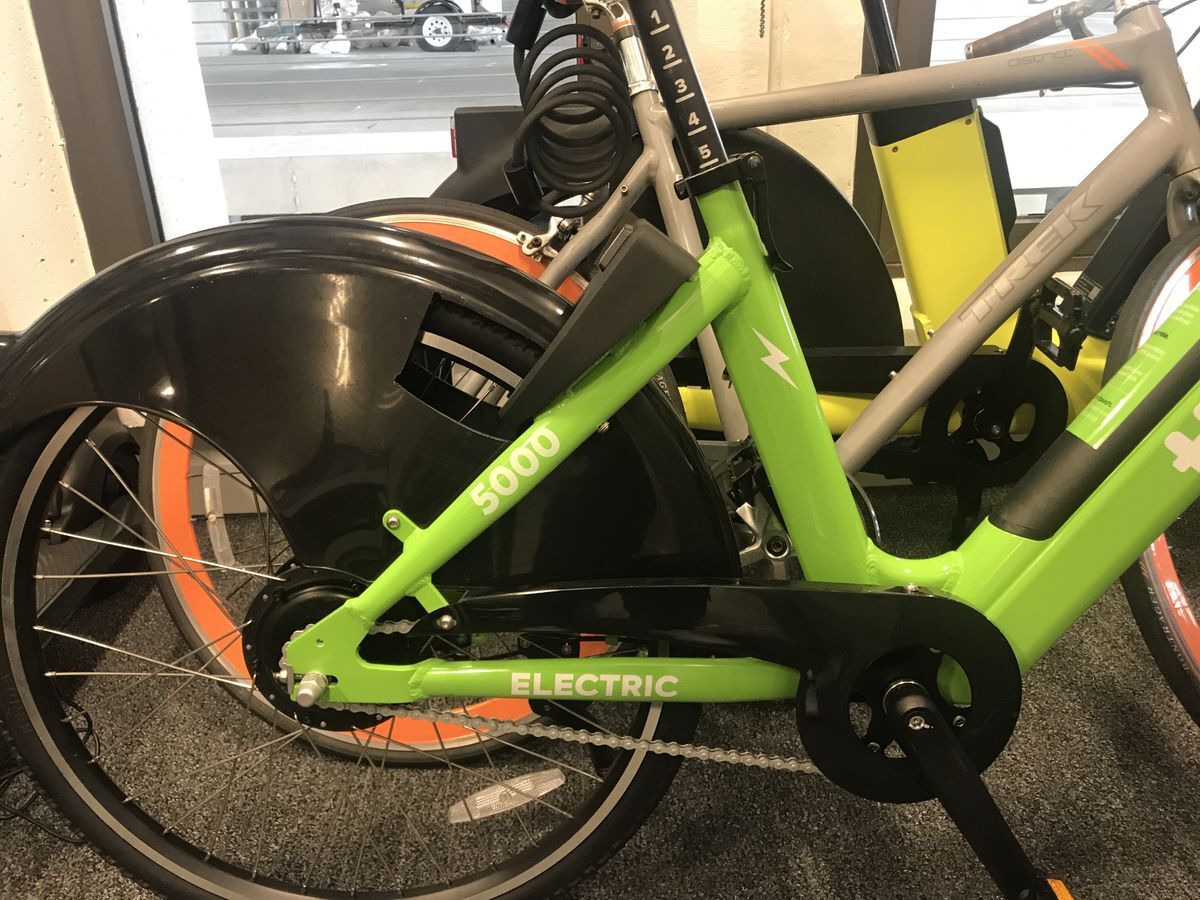
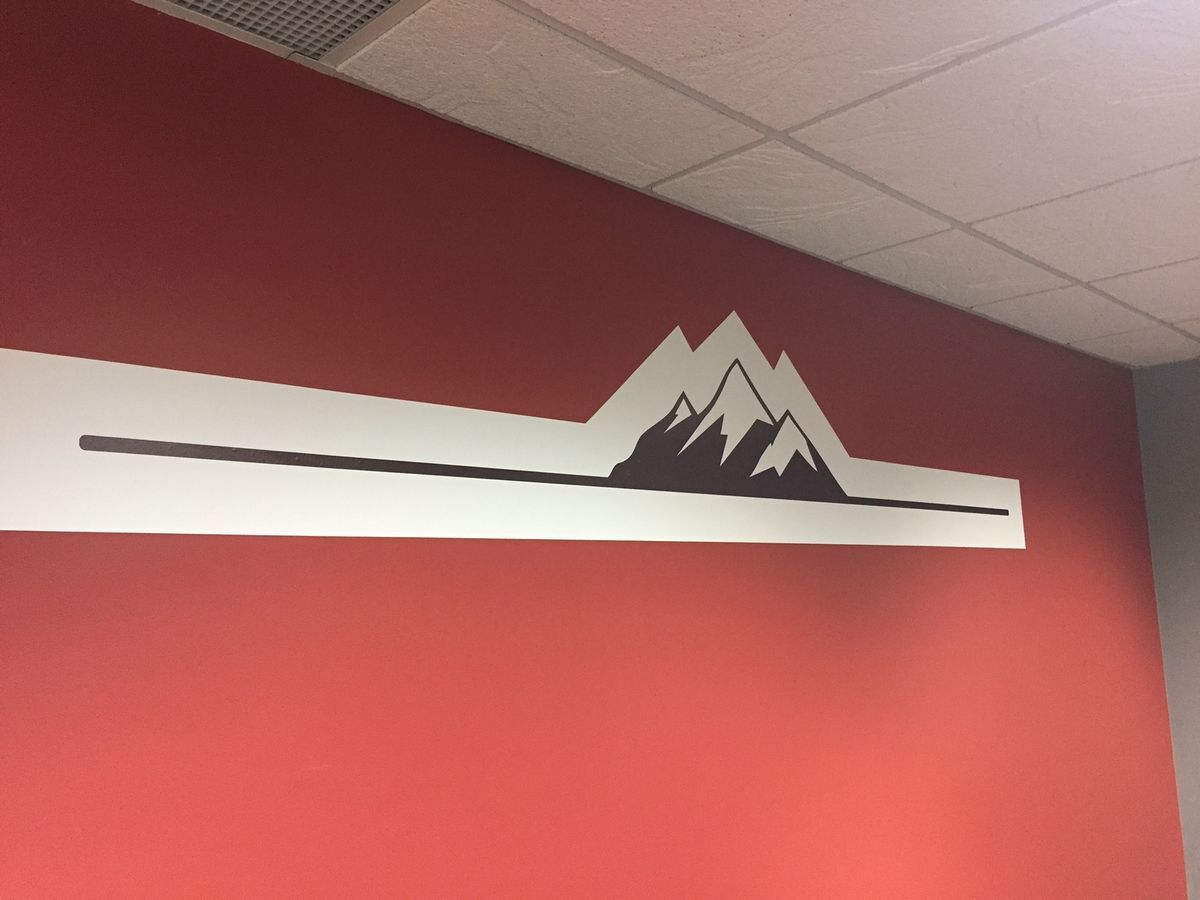
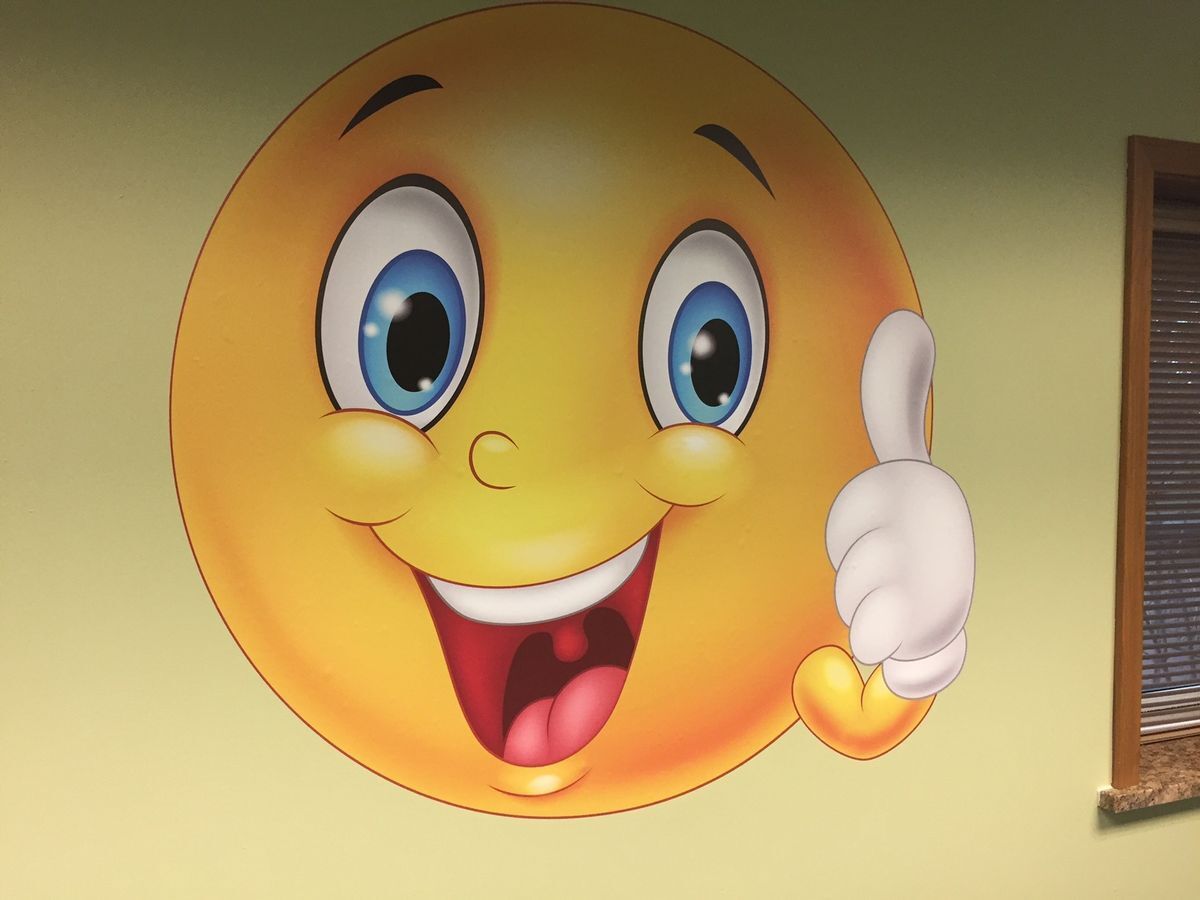
Whether you need decorative retail die cut labels, die cut show-room window and wall graphics or vehicle/auto die cut decals featuring your brand, our large format printer outputs bright, colorful prints on vinyl and many other materials that go on smoothly and look fantastic. We also have the right equipment to create precise cuts every time, whether it's a one-off or thousands produced.
See the video and instructions below for a step-by-step walkthrough on installing your own die cut vinyl graphics.

Step #1 - Clean your application surface before installing graphics for best results.
Step #2 - Measure down from the top or use a level to mark off a straight line at the top of your application area with masking tape.
Step #3 - Carefully peel apart the two layers of your artwork, exposing the adhesive side of the vinyl, making sure the artwork stays adhered to the sticky top layer (nothing left on the bottom liner).
Step #4 - With the masking tape line as your reference, line up and stick the top edge of the adhesive layer.
Step #5 - Carefully stick down the remainder of the artwork, using a flat-edged object like a squeegee or credit card.
Step #6 - Peel away the top layer slowly and clean up any remaining tape.
Congratulations! You've successfully installed your vinyl graphics.